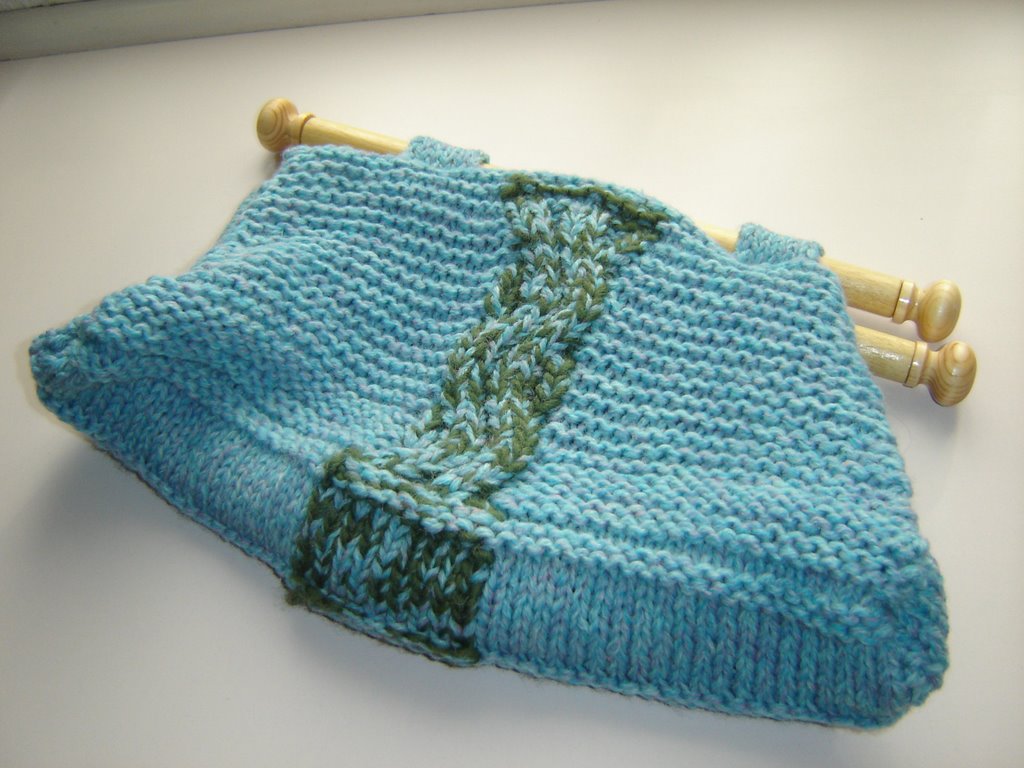
Garter and Cable Bag
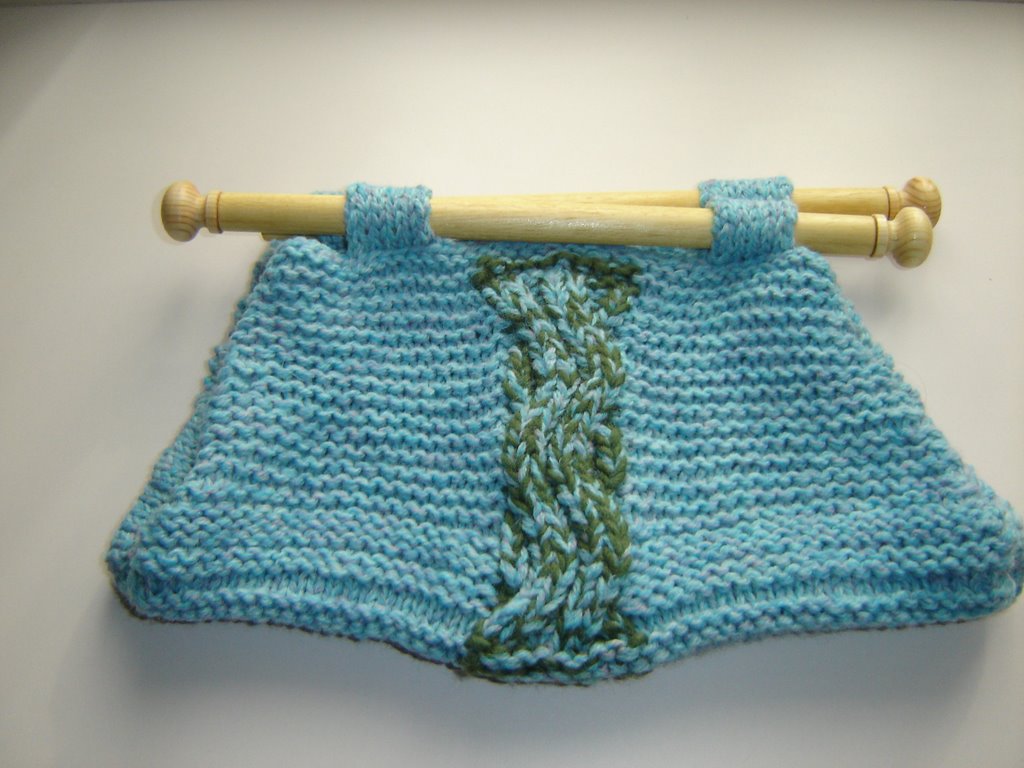
Note: the main body of the bag is knit in garter stitch. The stitches in the middle of the bag used for the cable pattern are knit in stocking stitch
Gauge:
Not important for this pattern
Cable pattern:
Row 1: T2F, T3B, p1, T3B
Row 2: k1, p2, k2, p3, k1
Row 3: p1, T3B, p1, C3B, p1
Row 4: k1, p3, k2, p2, k1
Row 5: T3B, p1, T3B, TRF
Row 6: p1 (k2, p2) twice
Row 7: (k2, p2) twice, k1
Row 8: p1 (k2, p2) twice
Row 9: T3F, p1, T3F, T2B
Row 10: k1, p3, K2, p2, k1
Row 11: p1, C3F, p1, T3F, p1
Row 12: k1, p2, K2, p3, k1
Row 13: T2B, T3F, p1, T3F,
Row 14: (p2, k2) twice, p1
Row 15: k1, (p2, k2) twice
Row 16: (p2, k2) twice, p1
Abbreviations:
T2F (Twist 2 Front)= Slip next stitch onto cable needle and hold at the front of the work, purl next stitch from the left hand needle, then knit st from cable needle
T3B (Twist 3 back)= Slip next st onto cable needle and hold at back of work, knit next 2 st’s from left hand needle then purl st from cable needle
C3B (Cross 3 Back)= Slip next st onto cable needle and hold at back of work, knit next 2 st’s from left hand needle then knit st from cable needle
T3F (Twist 3 Front)= Slip next 2 st’s onto cable needle and hold at front of work, purl next st from left hand needle then knit st’s from cable needle
T2B (Twist 2 Back)= Slip next st onto cable needle and hold at back of work, knit next st from left hand needle then purl st from cable needle
C3F (Cross 3 Front)= Slip next 2 st’s onto cable needle and hold at front of work, knit next st from left hand needle, then knit st’s from cable needle
(Taken from The Harmony Guide to Knitting- Techniques and Stitches, Debra Mountford, Editor, Harmony Books, New York, 1992))
Mc=main colour
Cc=contrast colour
Pattern:
Cast on 40 stitches
Garter St 2 rows in mc.
Starting using the mc and include the cc yarn like this:
mc K15, mc&cc tog. K9, mc K 16
mc K 16, mc&cc tog. P9, mc K15
X2 rounds
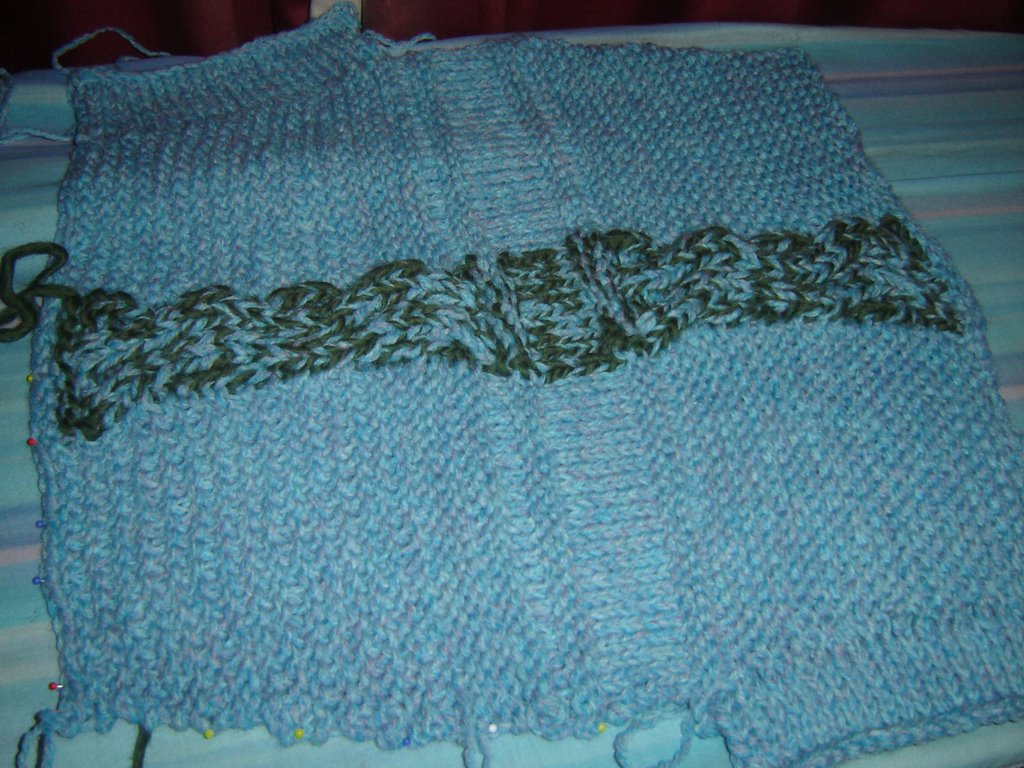
Start using the cable pattern and the above combination of colours as follows:
Garter St to the cable pattern, cable pattern row as appropriate, garter stitch to end.
Increase one stitch at each end of the row, every 6 rows, starting with row 1 of the cable pattern
Repeat the cable pattern once more, continuing with the increase rows until the end of the 2nd round of the cable pattern (52 stitches)
Row 41 Knit to end
Row 42 Purl to end
Row 43 Continue in stocking stitch for another 8 rows.
Row 51 Purl
Row 52 Purl
Row 53 Garter Stitch for another 2 rows
Row 54 Starting with the cable pattern and above combination of colours, continue as follows:
Garter St to the cable pattern, cable pattern row as appropriate, garter stitch to end.
Decrease one stitch at each end of the row, every 6 rows, to mirror the increases on the first side, starting with the first row of the cable pattern (row 54)
Do a second repeat of the cable pattern and decreases. You should now have 40 stitches again.
Garter St 4 rows.
Cast off.
 Sides of bag:
Using mc only.
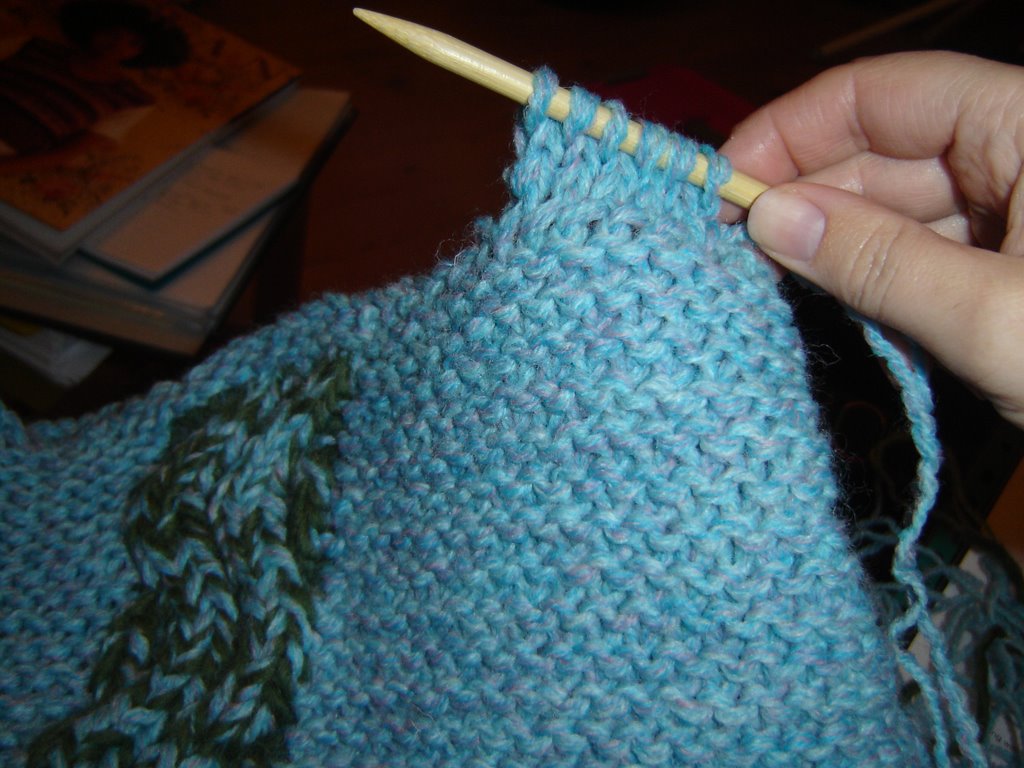
With right side facing you, and starting with the left hand side of the bag body, starting at the base of the bag and working towards the top of the bag, pick up 23 stitches.
Stocking stitch 2 inches.
Cast off
Turn the bag around so that the opposite side of the bag is now on the left hand side (see photo) and pick up 23 stitches as above.
Stocking stitch 2 inches.
Cast off.
These 2 sides will be on opposite ends of the bag and on opposite sides.
Making up:
Join the sides of the bag to the base and to the opposite side.
Weave in ends.
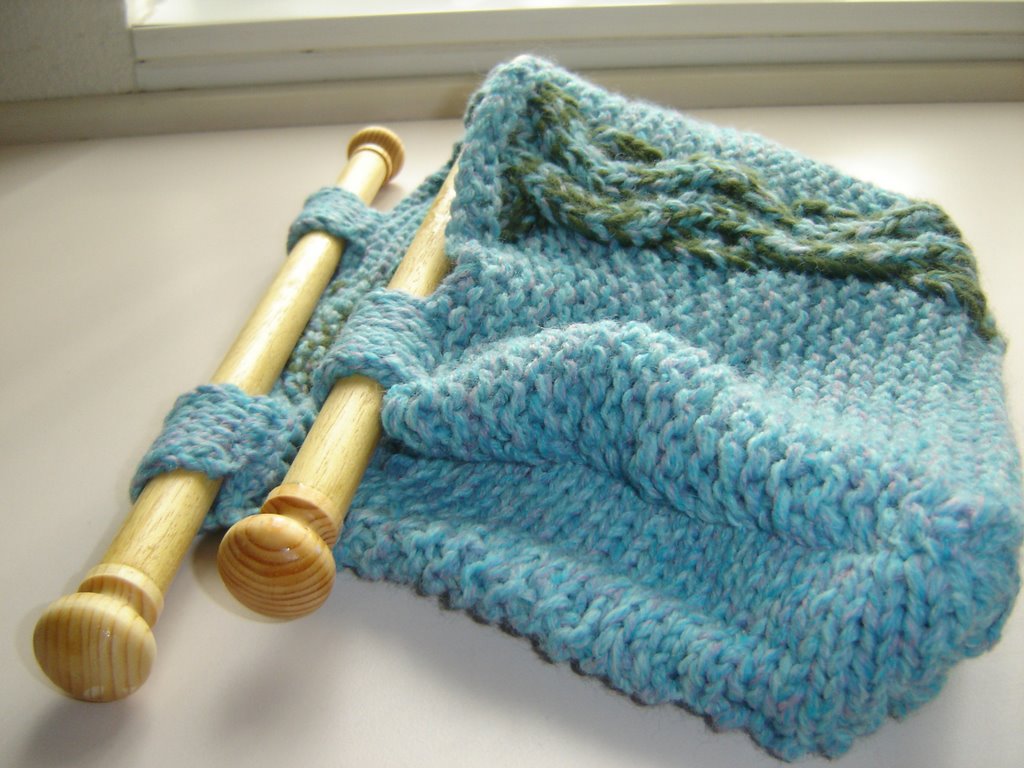
Tabs:
 Using mc only.
Pick up 6 stitches approximately 1&1/2 inches in from the side of the bag and stocking stitch for 2&1/2 inches.
I would advise to measure the tab around the dowel before you cast off to ensure that you get the correct fit. You will need to have the dowel in place and bring the tab around the dowel and to the inside of the bag where you plan on joining the other end of the tab.
Cast off.
Repeat on the other end of the same side, and again on the other side of the bag, using the length of the first tab as a guide for the other 3.
You should now have 4 tabs, 2 on each side.
Handles:
Using a dowel cut it to appropriate length and sand and varnish.
I got my dowel from Woodies but you could probably get them in any DIY store.
I also bought 4 wooden knobs and varnished these also, and glued them to the end of the dowel once it was cut to appropriate size.
Place the first dowel in place on one side, and join the tab over the dowel onto the inside of the bag. Repeat for the second tab on that side and for the second dowel and tabs on the 2nd side. I found this to be the best way to have a tight fit on the tabs around the dowel, as I didn’t want the dowel to slip out of the tabs.
Throw your purse, mobile and lippy into bag and off you go...
Line the bag if you feel it’s necessary, I didn’t (I’m bad at sewing though)
You can also put a bottom into the bag if you want; one suggestion is to use a piece of stiff tapestry board

posted by tangelled angel @ Wednesday, May 31, 2006
![]()
![]()


1 Comments:
love it. fun to knit and gorgeously stylish too. Adding it to my list of patterns I'd like to find the time to knit.
Post a Comment
<< Home